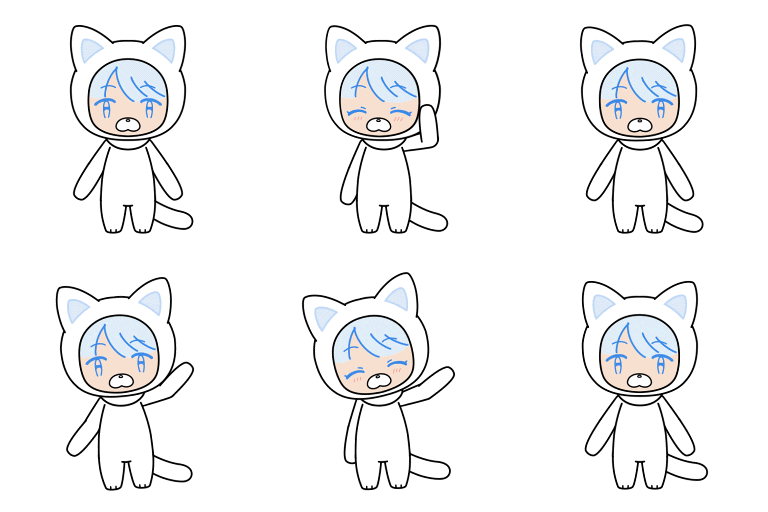
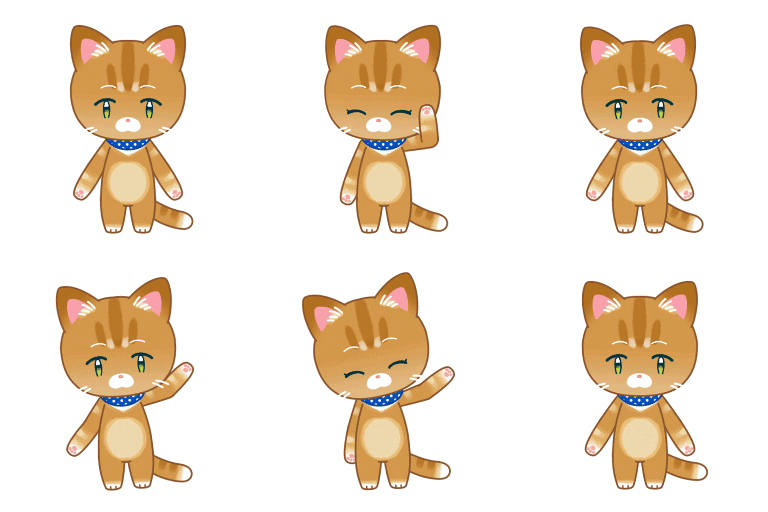
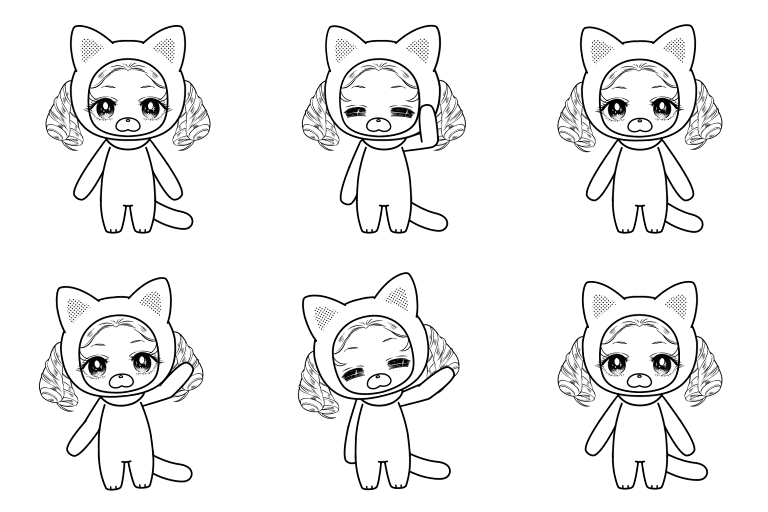
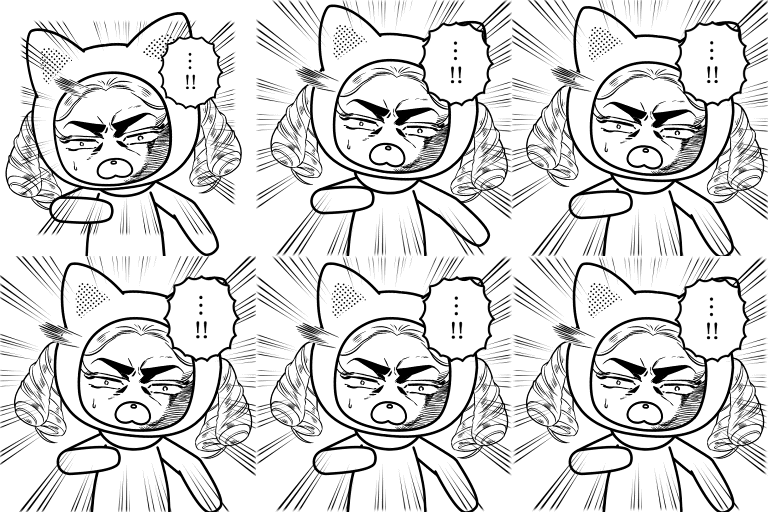
What is nizigurumi?
Just draw an illustration, replace it, and Live2D goes to work!
You can easily create your own unique “nizineko”!
How to play nizineko
Preparation|nizineko Data and Folder Structure
Download nizineko.zip.
The folder structure is as follows.
Step 1|Replace (create) the original image
Please prepare an original image using Photoshop or ClipStudio, using either method A or B. If you want a high degree of freedom in drawing and editing, we recommend A. If you want to keep it simple, we recommend B.
When making the following edits, going back and forth between multiple drawing software programs is deprecated. Because of the different compositing modes and clipping limitations of each software, replacement may fail.
A. Make changes in the layer group of the materialized PSD (nizineko.psd)
Add layers within each layer group or edit directly on the layer. At this time, do not edit the “border” layer within a layer group.
-> Go to Step 2.
B. Edit each layer of the PSD for import (nizineko_import.psd) directly
At this time, do not erase the black frame.
Do not delete layers of unused parts and hide them.
-> Go to step 3.
Step 2 | Create data for import into Live2D
1. merge the layer groups marked with ★.
At this time, do not delete the layer group with an asterisk (*) at the top.
If you are using Photoshop, you can easily integrate it automatically by using the “にじぐるみ用スクリプト_v01.jsx” included in the Nijigurumi folder. The usage is the same as “Live2D_Preprocess”. Please refer to the following page.
https://docs.live2d.com/cubism-editor-manual/script-download/
2. Delete the background layer.
3. Export as a PSD file for import.
Step 3 | Import PSDs for import and replace them
1. launch Cubism Editor and open “nizineko.cmo3”.
2. Import the PSD you created for import.
3. select “★★★★ (model)” and press OK.

4. replace [ ★★★★.psd ] ( date ) and press OK to replace the PSD.

See also “Re-importing PSDs” for details on re-importing PSDs.
FAQ
1. may I use the distributed animations?
The animations included with the nizineko data can be reused!
You may submit your work together with your submission.
2. What is a “*Guide” layer?
This guide represents the center of rotation of the joint. Arms and legs rotate around this circle.
Not used in Cubism Editor.
3. on “facial expressions” and “eyebrows” A, B, and C
Layers of the same alphabet have a corresponding relationship.
For example, if you want to edit the eyebrows when creating a facial expression by editing the “★Facial Expression A” layer, edit the eyebrows on the “★Maybere A” layer.
4. use of “★bangs” layered bangs and “face_painted” layered bangs
Use it when you want the bangs to come out of the stuffed animal or when you want to keep the bangs inside the stuffed animal.
5. How to delete (hide) unwanted parts
If there are parts you do not want to use, such as ribbons or glasses, hide the layers marked with ★ and the group layer.
However, even if the part is hidden in the modeler, it will be forced to appear if it is used on the animator’s side.


