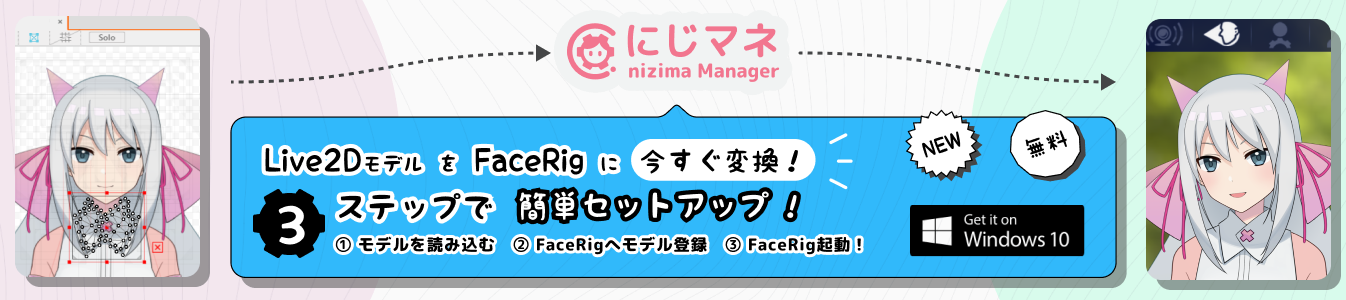
About nizimane
nizima Manager for FaceRig “nizimane” is an app that allows you to “register, save, and edit” the settings necessary for using Live2D models in exported data format with FaceRig.
App developer: Live2D Inc.
Installation
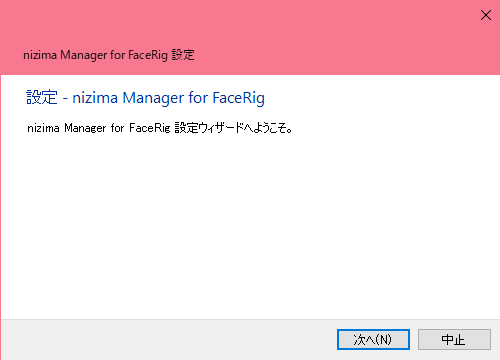
1. Run the downloaded Setup.exe to launch the installer.
2. Follow the prompts and press “Next”.
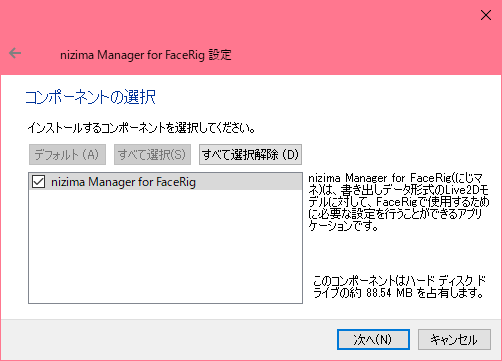
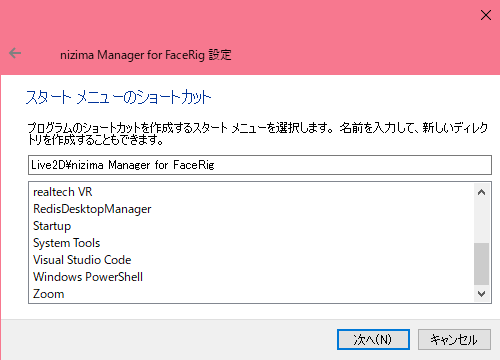
3. Specify the installation folder and click “Next”.

4. Press [Next].
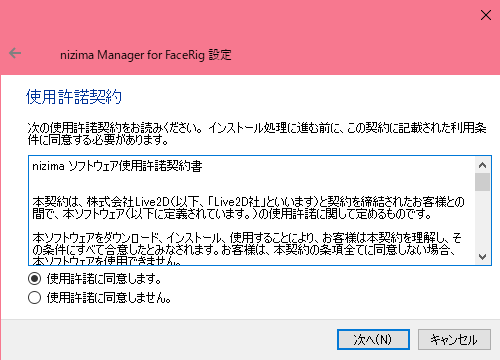
5. After carefully reading the license agreement, select “I agree to the license agreement”. and click “Next”.
6. Press [Next].
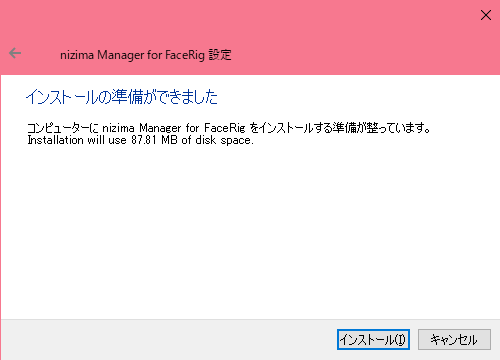
7. Click “Install”.
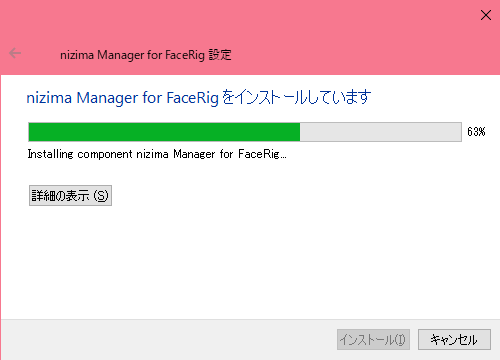
8. The installation will start, so please wait as it is.
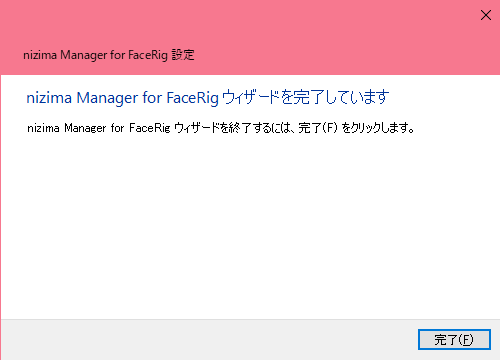
9. Click [Finish].
Startup
From the “Start Menu”, click on the icon with the name you specified during installation. If you cannot find the shortcut, execute “nizima_Manager_for_FaceRig.exe” in the “installation folder”.
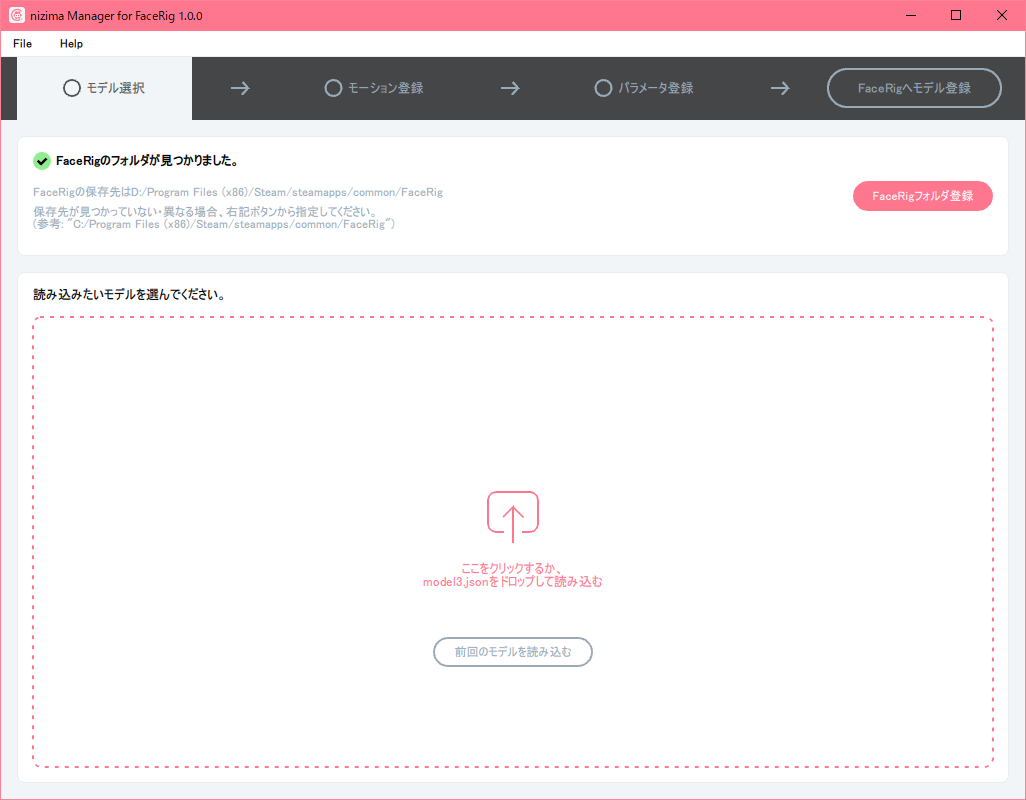
Startup screen
Screen Layout
nizimane consists of four areas.
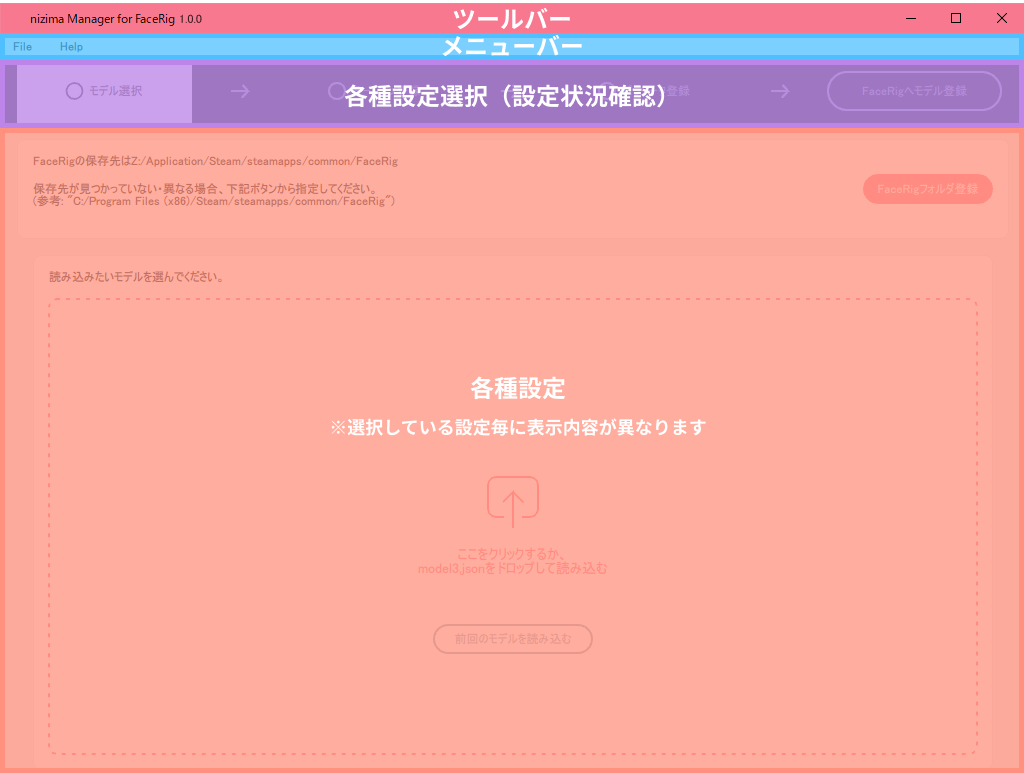
| Area Name | Description. |
|---|---|
| toolbar | – Displays app icon, app name, and app version information. – Minimize, maximize, and close (exit apps) windows. – The window can be moved by dragging and dropping the toolbar. Note: Window size cannot be changed. |
| menu bar | Please check the menu bar. |
| Select various settings | Clicking on the title will display the corresponding settings. |
| Various settings | Please check various settings. |
menu bar
File
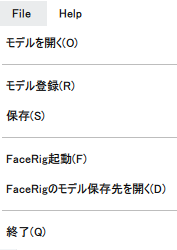
| menu item name | Description. |
|---|---|
| Open Model | Open the Live2D model you want to use in FaceRig. shortcut key [Ctrl]+[O] |
| Model Storage | Save the Live2D model being set to the FaceRig folder set in the model selection screen. shortcut key [Ctrl]+[R] |
| save | Save the Live2D model being set to specified folder set in the model selection screen. shortcut key [Ctrl]+[S] |
| Launch FaceRig. | Launch FaceRig. shortcut key [Ctrl]+[F] |
| Open the strage location of Live2D Models for FaceRig. | Open the Live2D model storage location for FaceRig that is set in the model selection screen. shortcut key [Ctrl]+[D] |
| Exit | Exit the app. shortcut key [Ctrl]+[Q] |
Help
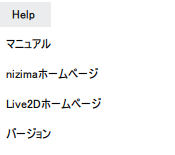
| menu item name | Description. |
|---|---|
| manual | This page will open. |
| nizima website | nizima will open. |
| Live2D website | The Live2D Inc. website will open. |
| version | Display version information. Clicking outside the screen closes the modal window. |
Various settings
In 4 Steps, Setup and and storage location your Live2D model for FaceRig.
step 1. Select Model
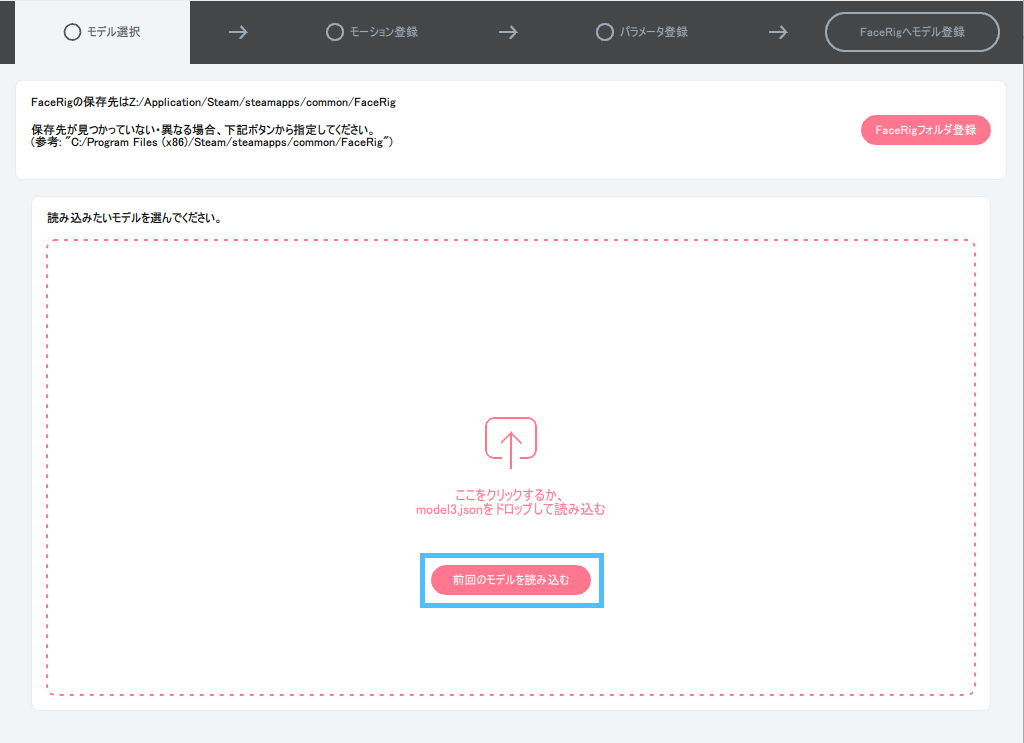
Select the Live2D model you would like to use with FaceRig. check the model formats available for FaceRig and select the Live2D model you would like to use.
1. If the standard FaceRig installation folder is found, the FaceRig folder will be set by default.
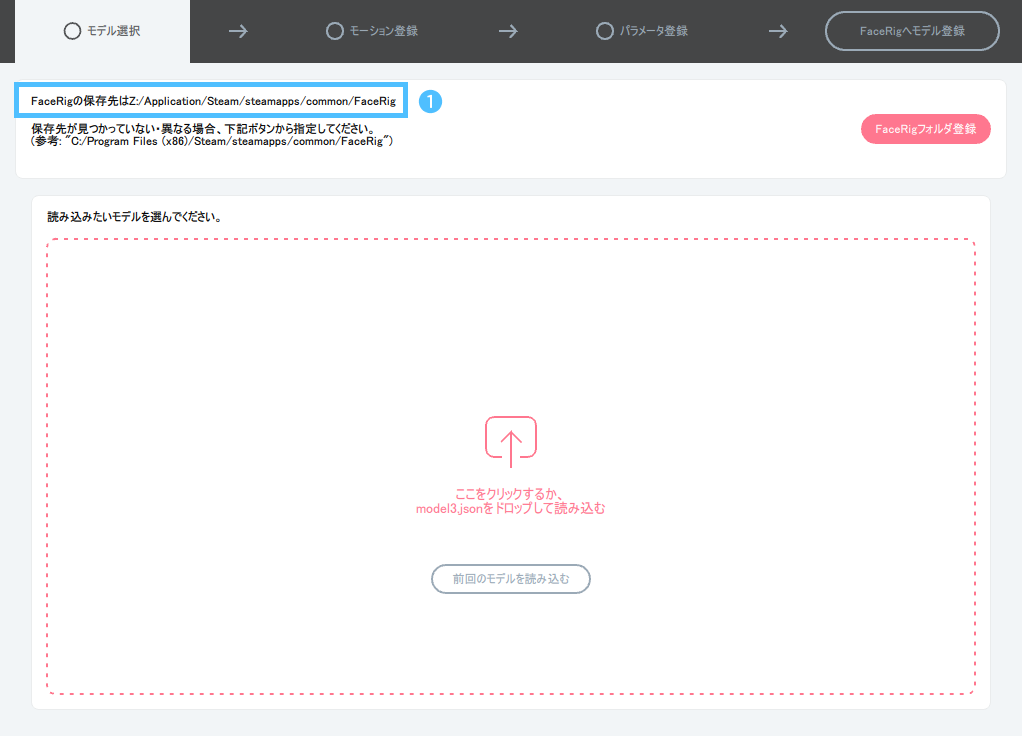
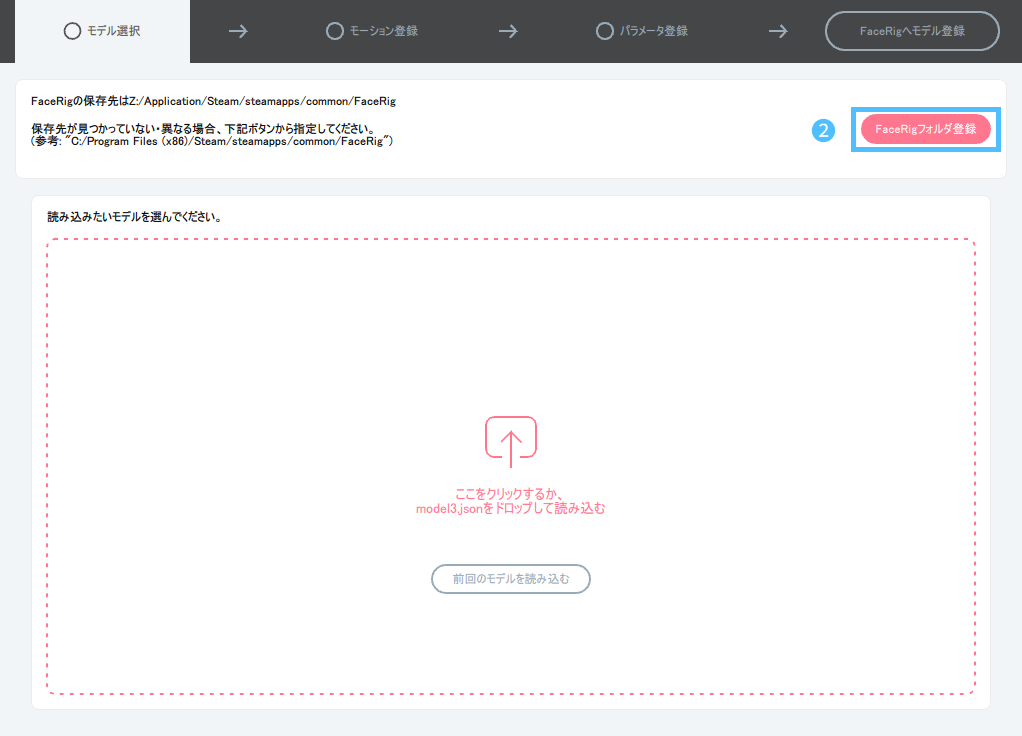
2. If you cannot find the standard installation folder of FaceRig, press [FaceRigフォルダ登録] to specify the folder where FaceRig is installed.
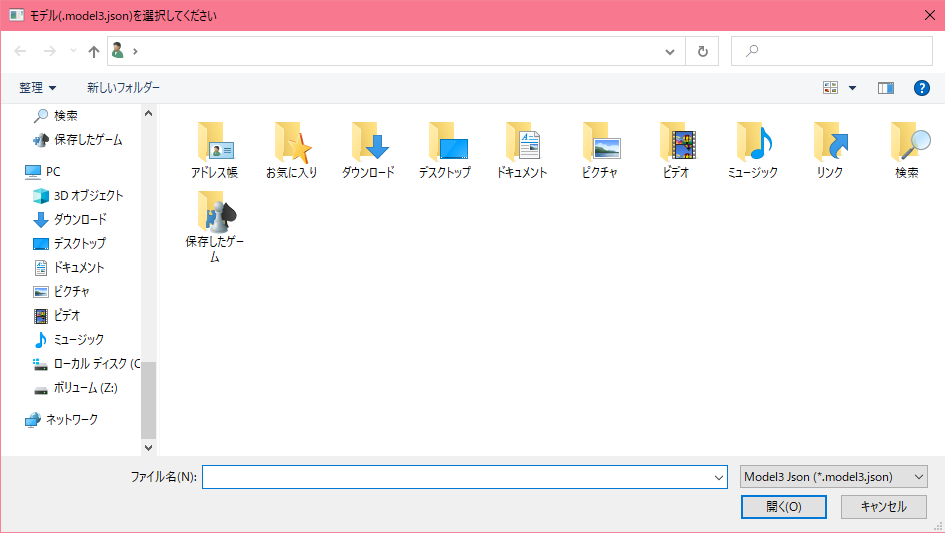
3. Select the model you wish to load.
Drag and drop the “*.model3.json” file of the model you wish to load onto the area enclosed by the dotted line.
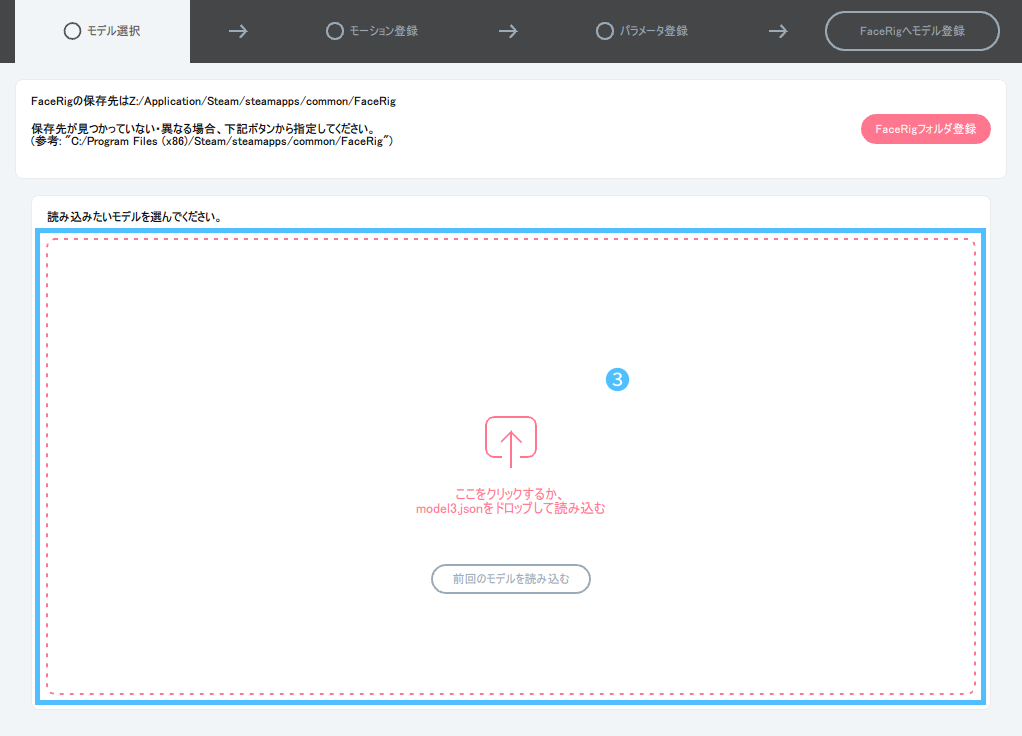
Alternatively, click in the area to display the file selection screen.
If you want to re-set a previously set model, click on “Load Previous Model”.
4. When the model selection check box turns green, loading is complete.
If motion is already registered in the Live2D model, the “Motion Setup” checkbox will automatically be green as well.
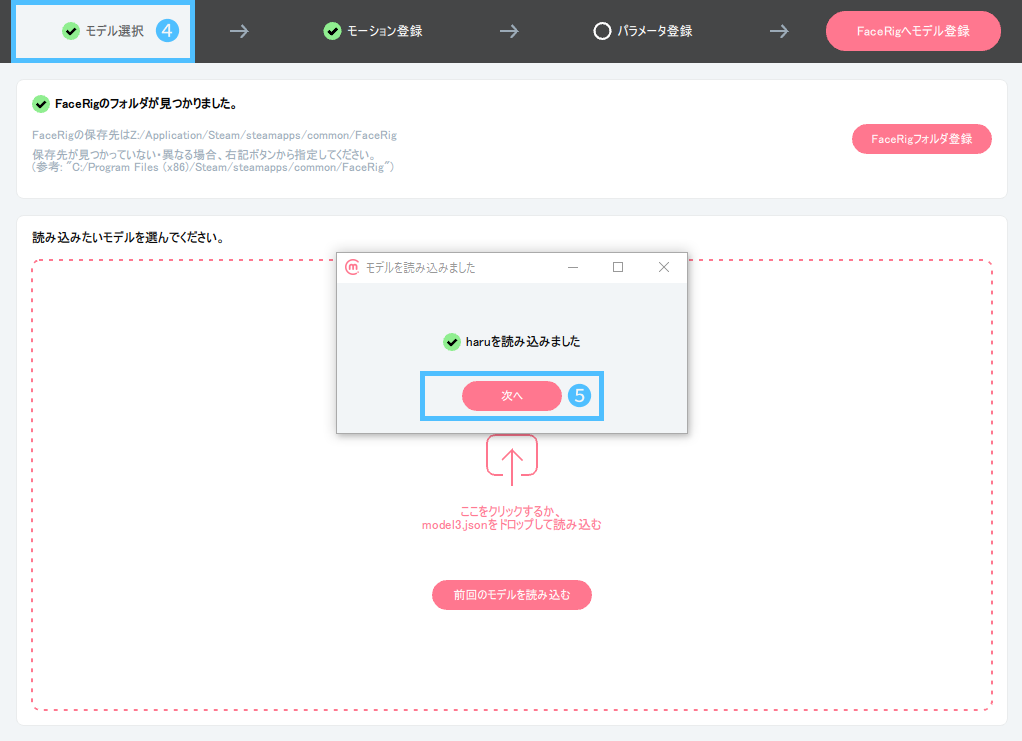
5. Click “Next” to move to the motion setting screen.
step 2. Motion setting
1. The model loaded in step 1 is displayed.
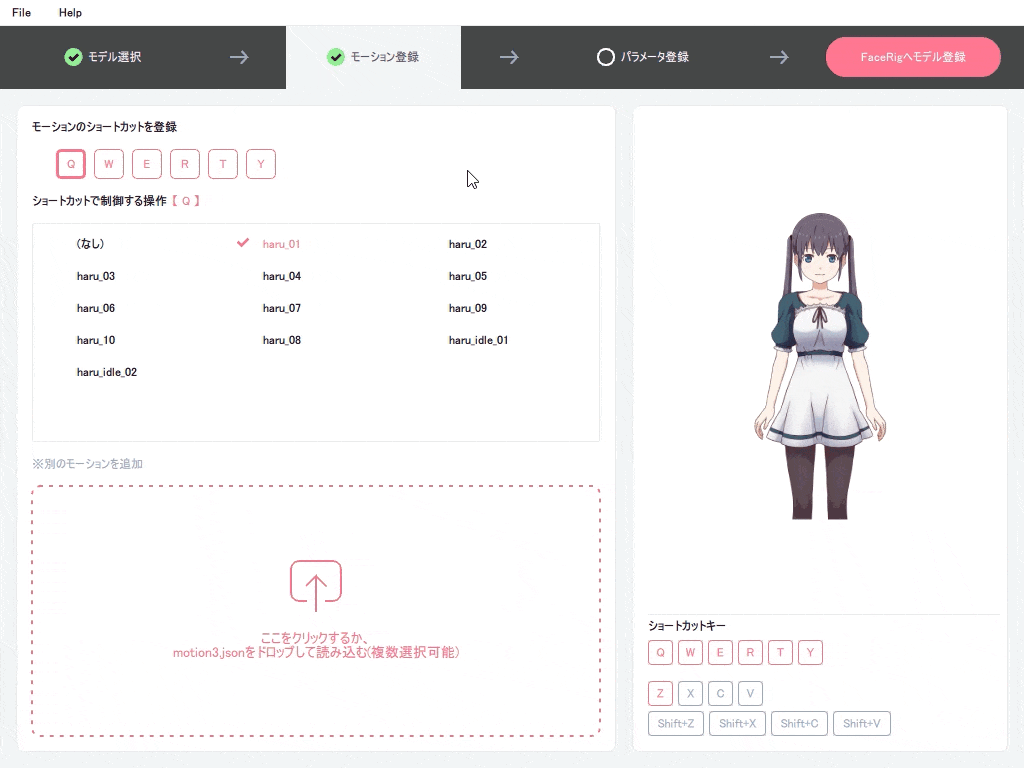
2. To play the currently loaded motion, hover the mouse over the motion name.
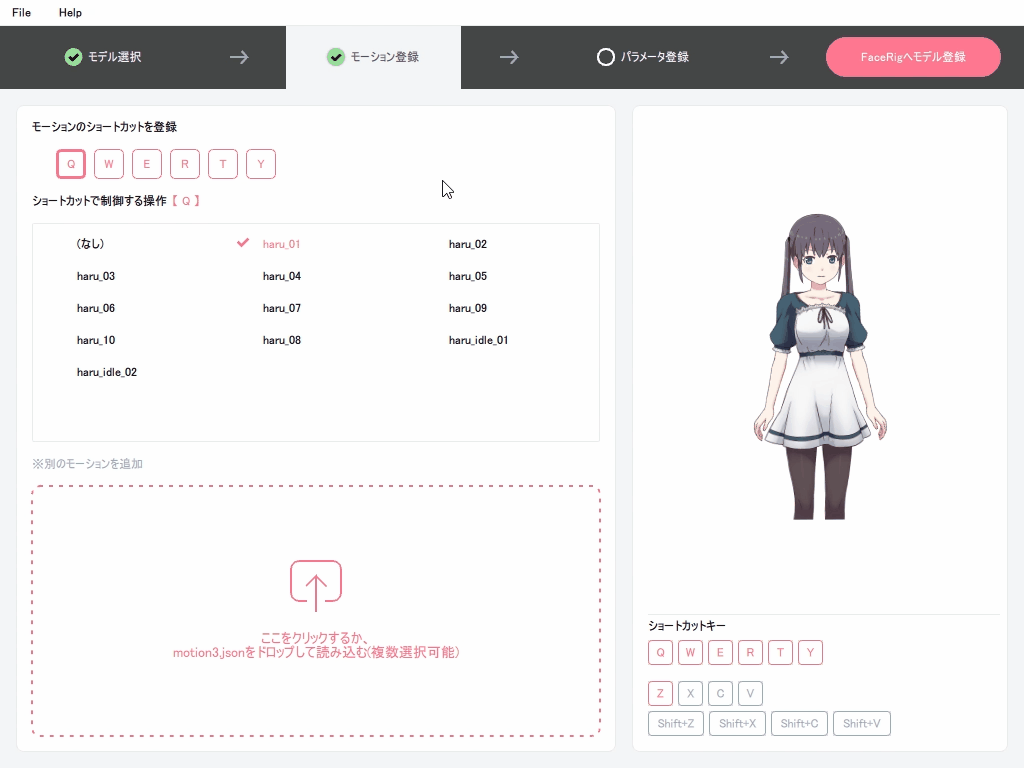
3. Associate a motion to each key (Q, W, E, R, T, Y).
Key Binding
1. select the key you wish to register that is located in the “Motion Shortcut bindings” section.
2. Select the name of the motion you wish to register, which is located in the “Operations Controlled by Shortcuts” section.
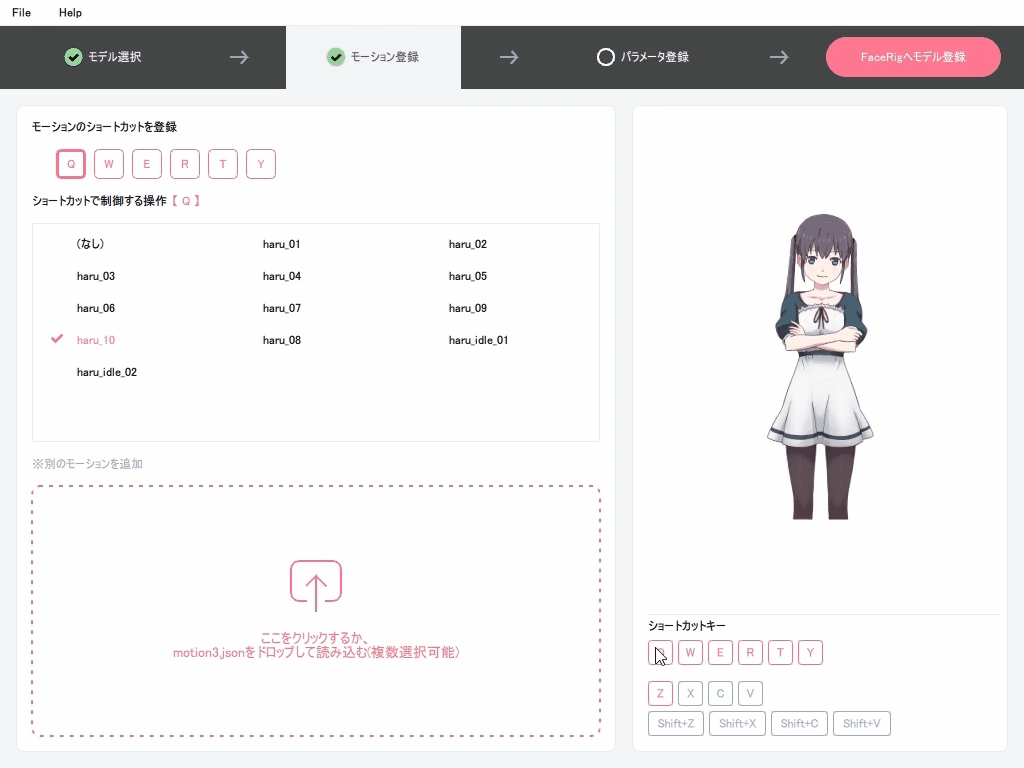
Confirmation of key operation
Enter the key that you have set the bind setting for on the keyboard. Alternatively, select that key from the [Shortcut Keys] listed in the lower left corner of the screen.
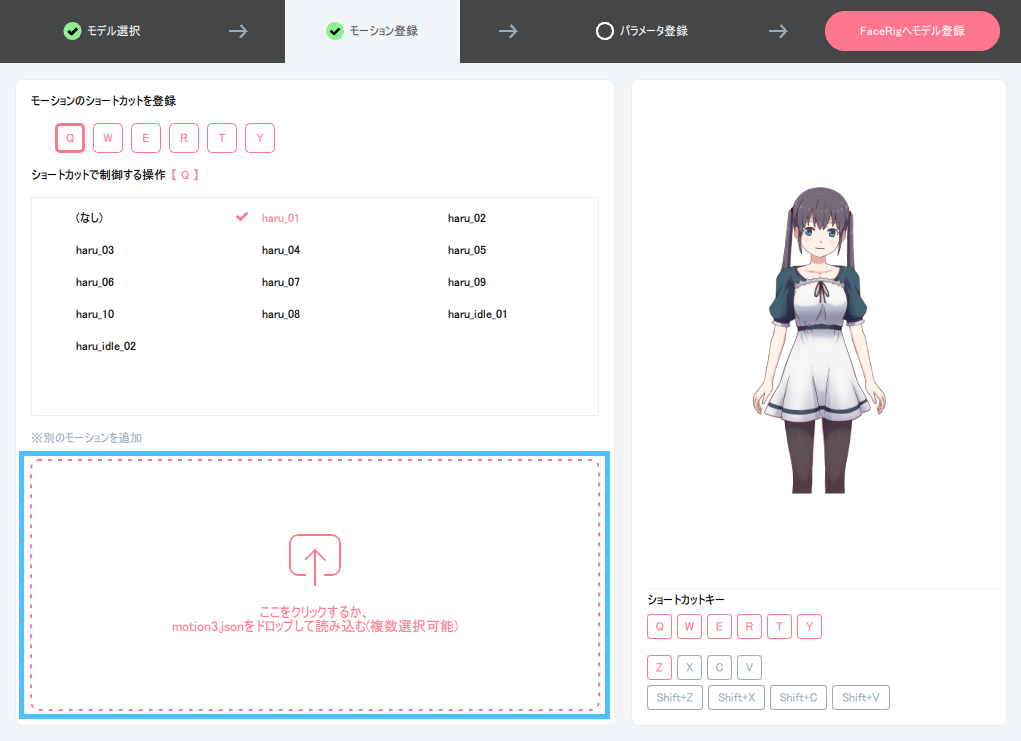
4. Motion can be added to the Live2D model that has not been preset.
Drag and drop the motion “*.motion3.json” file you wish to load into the area enclosed by the dotted line.
step 3. Parameter Setting
1. The model loaded in step 1 is displayed.
The [Parameter controlled by shortcut] can be switched between ID display and Name display.
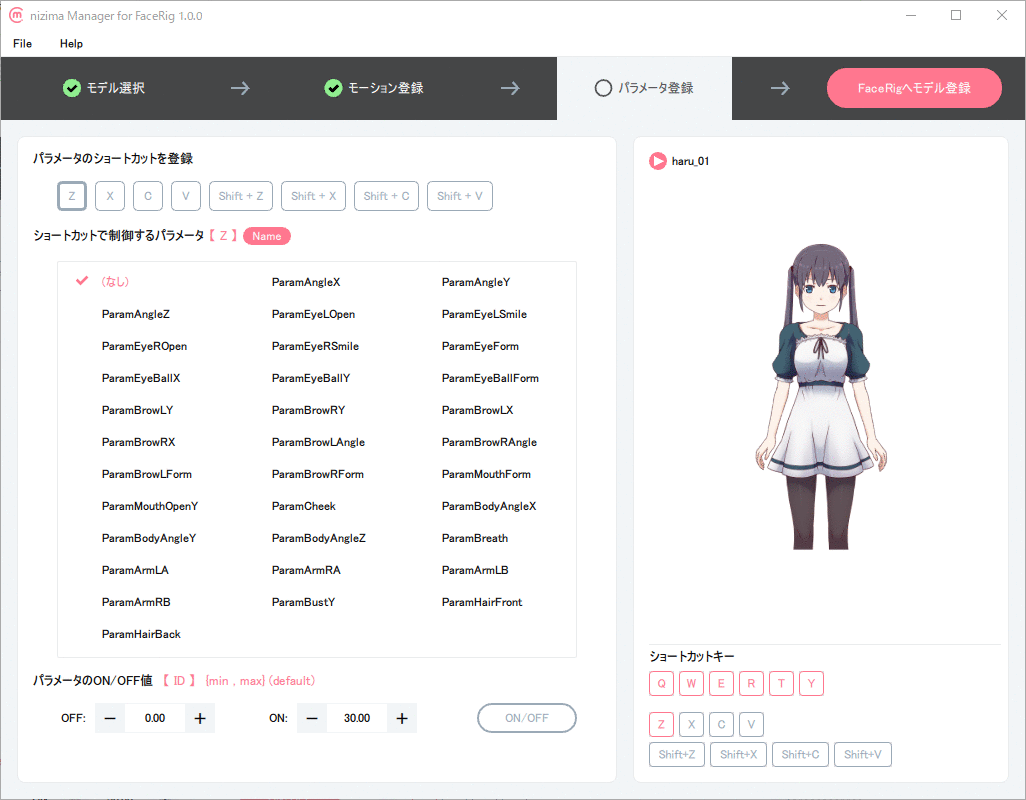
2. Bind a parameter to each key ( Z, X, C, V, Shift+Z, Shift+X, Shift+C, Shift+V ).
Key Binding
1. select the key you wish to bind that is located under “Parameter Shortcut Bindings”.
2. select the parameter ID (or name) you wish to register, located under “Operations Controlled by Shortcuts”.
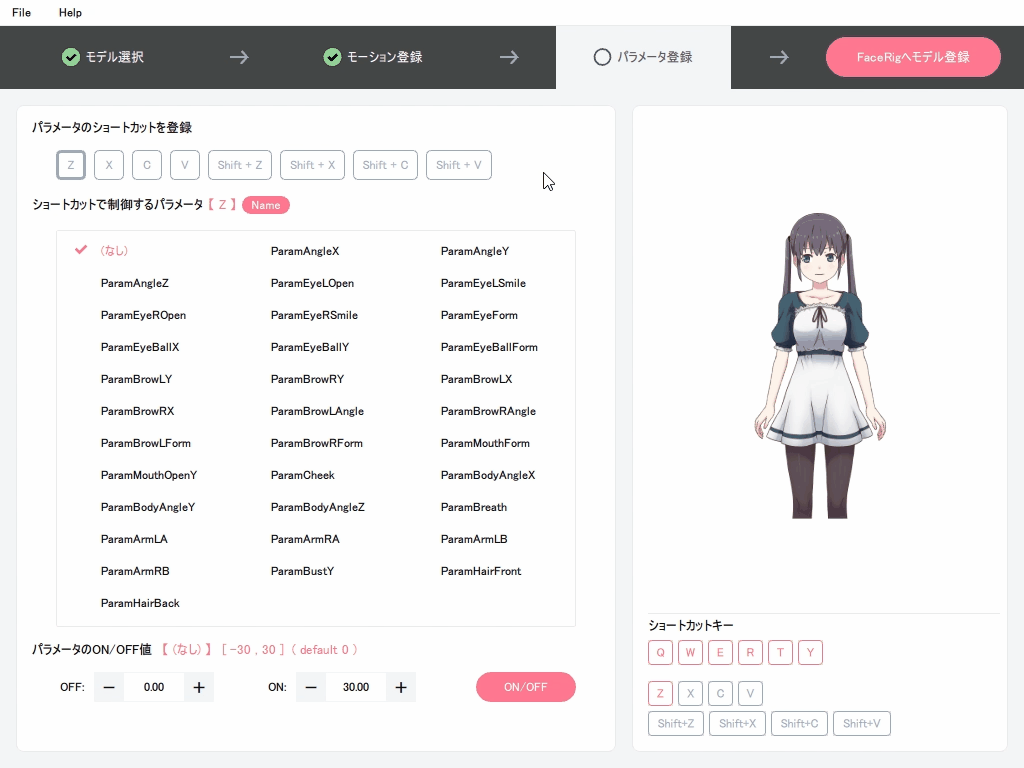
3. In [Parameter ON/OFF Value], enter the ON/OFF value for the currently selected parameter respectively. The valid range is set for each parameter, so make settings within the displayed range.

Confirmation of key operation
Enter the key that you have set the bind setting for on the keyboard. Alternatively, select that key from the [Shortcut Keys] listed in the lower left corner of the screen.
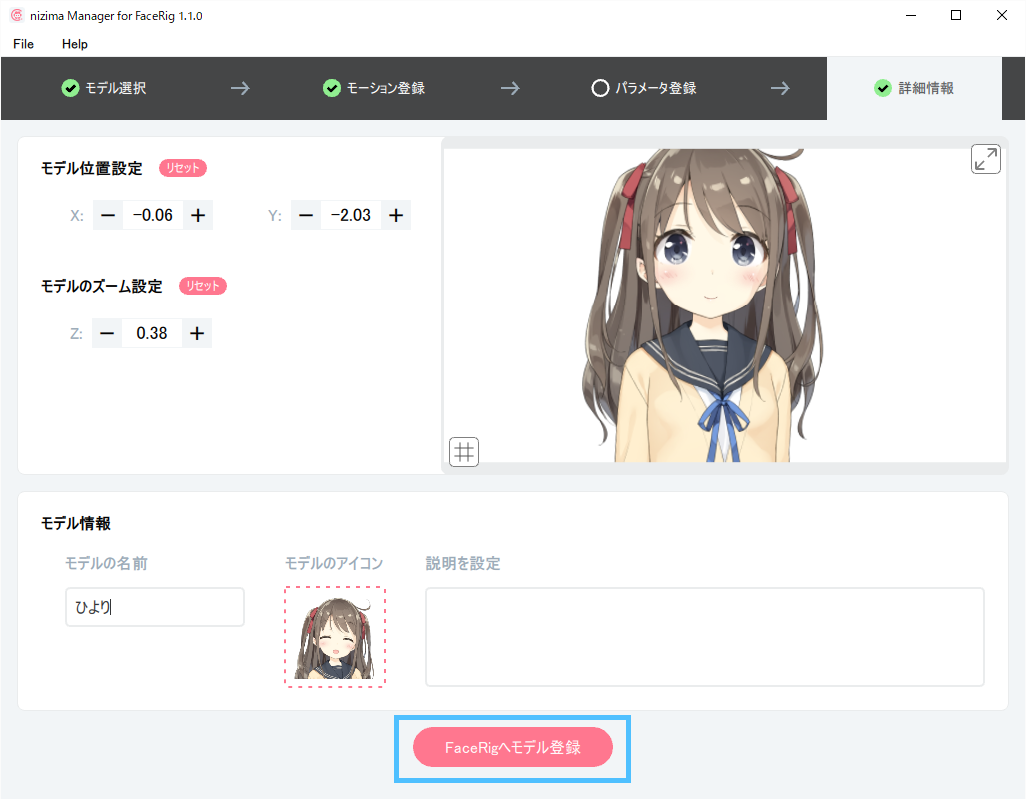
step 4. More Information
You can optionally set the default positioning of the model, icons, etc.
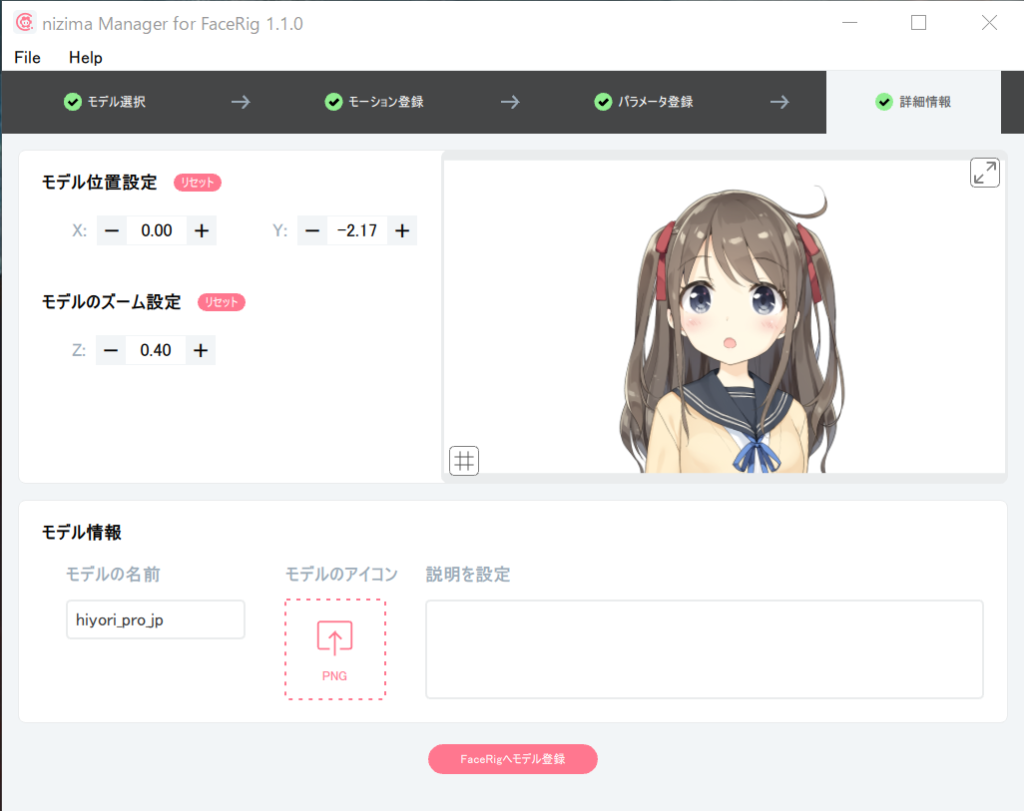
1. set the default position and scale of the model.
The default position and scale of the model can be set in two ways.
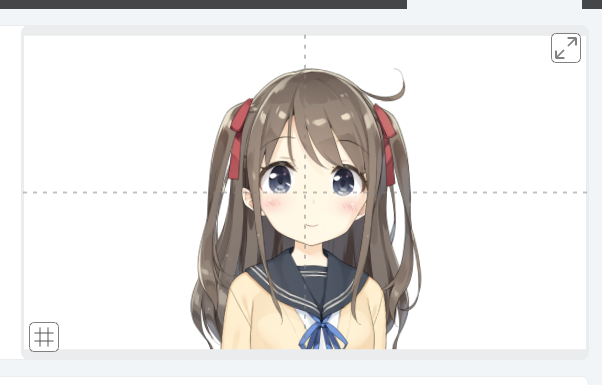
Screen used to set the default position and scale of the model
preview screen
You can set the position and scale of the model by mouse operation.
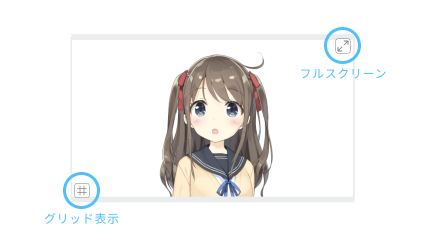
full screen
Clicking the button shifts the model’s default position setting to full screen mode, and pressing the button in the upper right corner returns the model to its current screen size.

grid button
A grid appears on the preview screen.
a. Set by entering numerical values
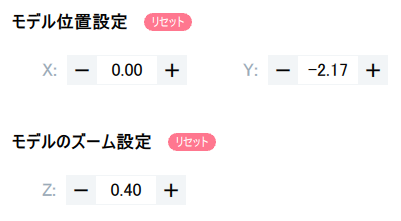
| - | + | |
|---|---|---|
| X | Move left | Move right |
| Y | Move down | Move up |
| Z | Scale up | Scale down |
b. Visual setup with mouse
The default position can be set visually by using the mouse to manipulate the model displayed on the preview screen.
| mouse operation | behavior |
|---|---|
| middle mouse button + drag | Up, down, left, right move |
| scroll | Scale up and down |
| Mouse left and right buttons simultaneously + drag | Scale up and down |
2. Set up model information.
Sets model information to be displayed in the FaceRig avatar gallery.
1. Set the model name.
By default, the model file name is entered.
2. Set the model icon.
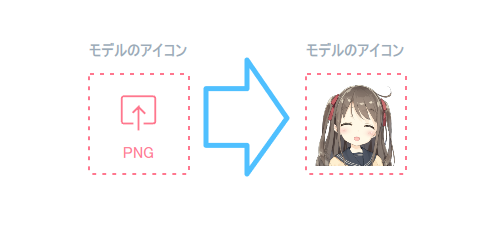
1. drop or click on the image within the pink border to select it.
2. The set image will be displayed within the border.
Note: It is possible to reset the settings by repeating the same process even if they have already been set.
3. set the model description.
You can set the description to be displayed by FaceRig. Line breaks are automatically replaced by .
step 5. Register models to FaceRig
1. press Register models to FaceRig
Note: This is the same function as [storage the model (Ctrl+R)] in the File menu.
If the Live2D model was successfully loaded in step 1, the model can be registered to FaceRig at any time.
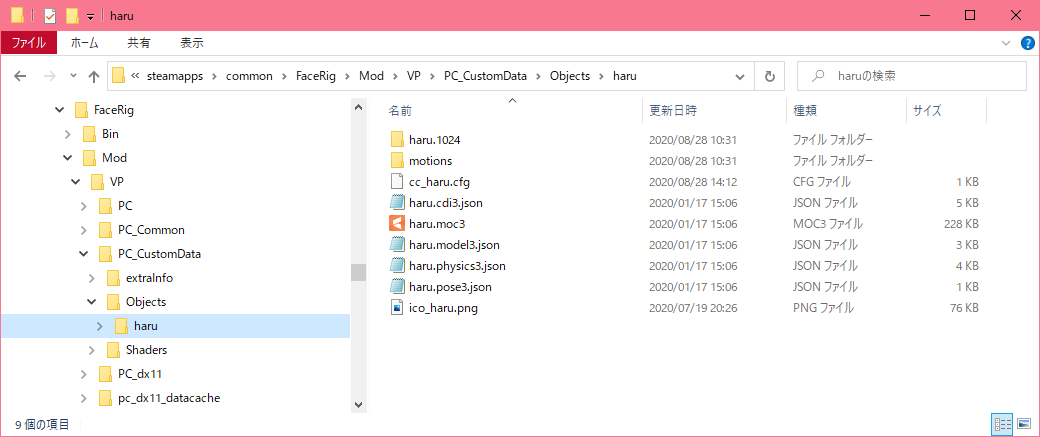
2. If a valid FaceRig “cfg file” exists in the Live2D model being set up, a selection message will appear asking whether to use the existing “cfg file” or create a new “cfg file” based on the settings made in nizimane
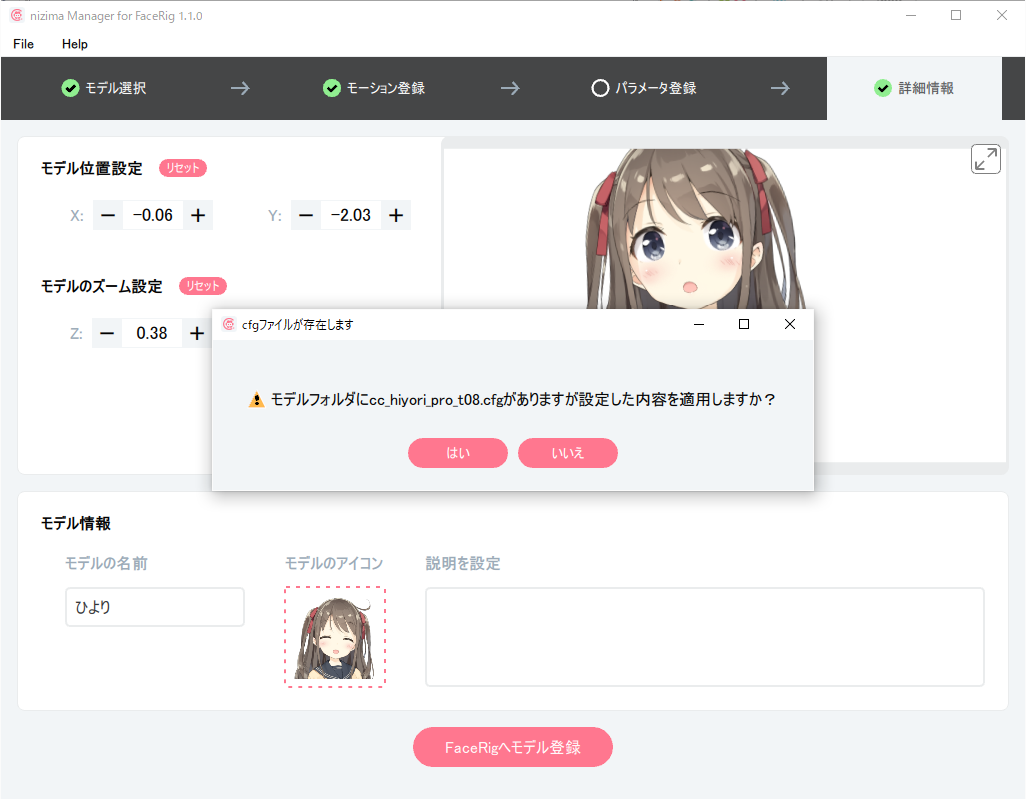
3. The destination for strage location the model for FaceRig will open.
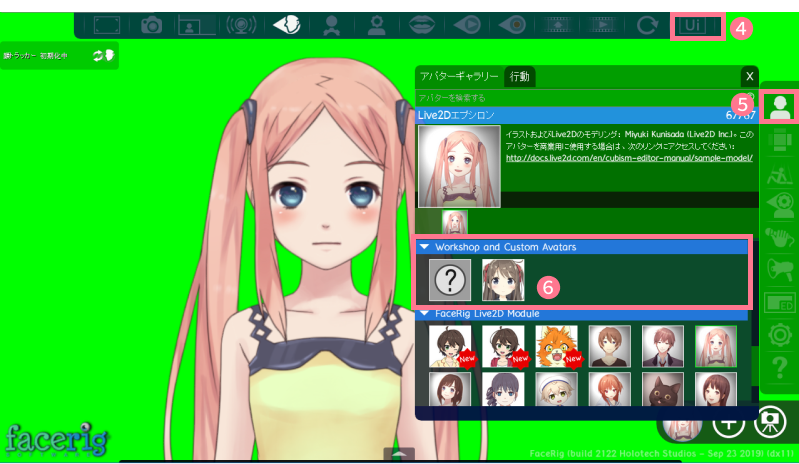
Check the display of the model with FaceRig
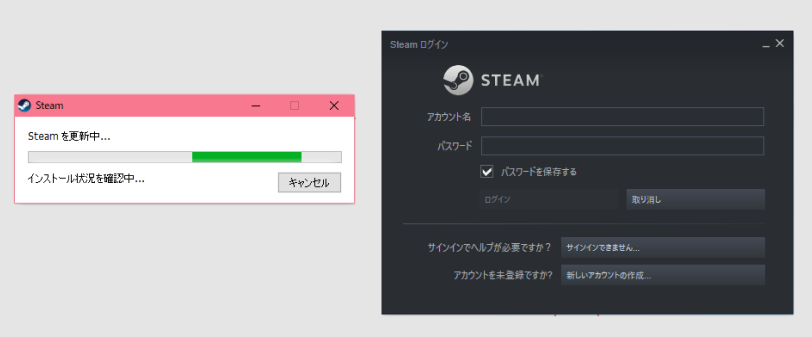
1. Press [FaceRig起動(Ctrl+F)] in the File menu.
The steam update may run, or the login screen to steam may appear. Please follow the instructions on the actual screen.
2. When FaceRig starts up, press “LAUNCH”.
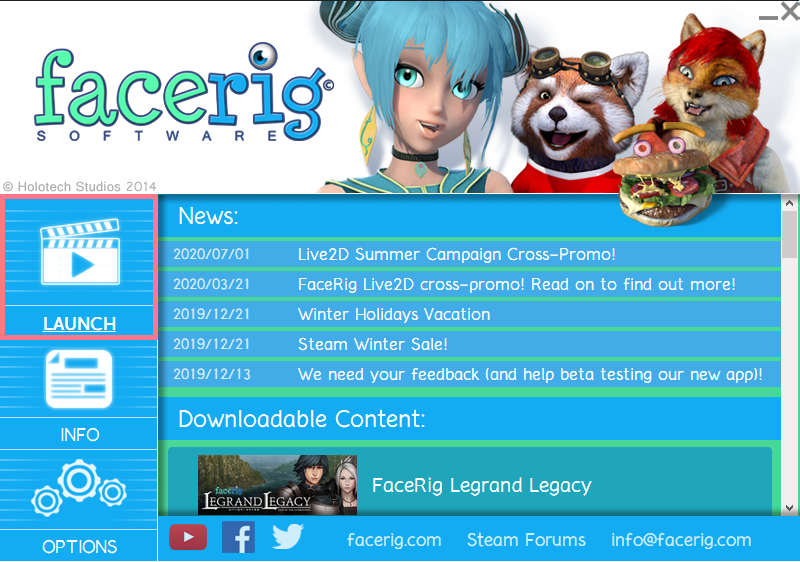
3. LAUNCH will open.
4. Change to “Advanced UI”.
5. Open “Avatar”.
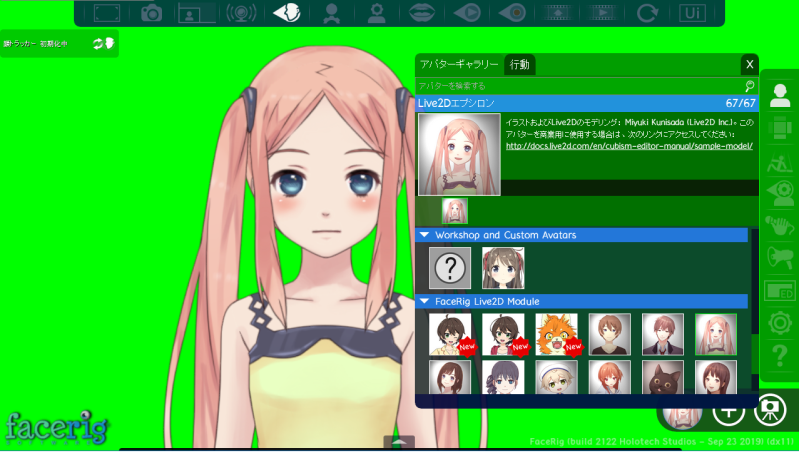
6. check if the model you have just set up is displayed in the “Workshop and Custom Avatars” section.
Download
Download it now and set up your Live2D model in FaceRig!
If you don’t have a FaceRig compatible Live2D model at hand, try nizima to find one you like!